Big day on the horizon, wedding, graduation, maybe a photoshoot? Whitening can help, but timing is crucial because when you start too late, you won’t achieve the desired result and when done too early, the shade may fade before the event. This blog gives you a straightforward timeline so you know exactly when to begin, what options fit your schedules, and how to keep your teeth looking bright right through to the big moment.
How Teeth Whitening Works?
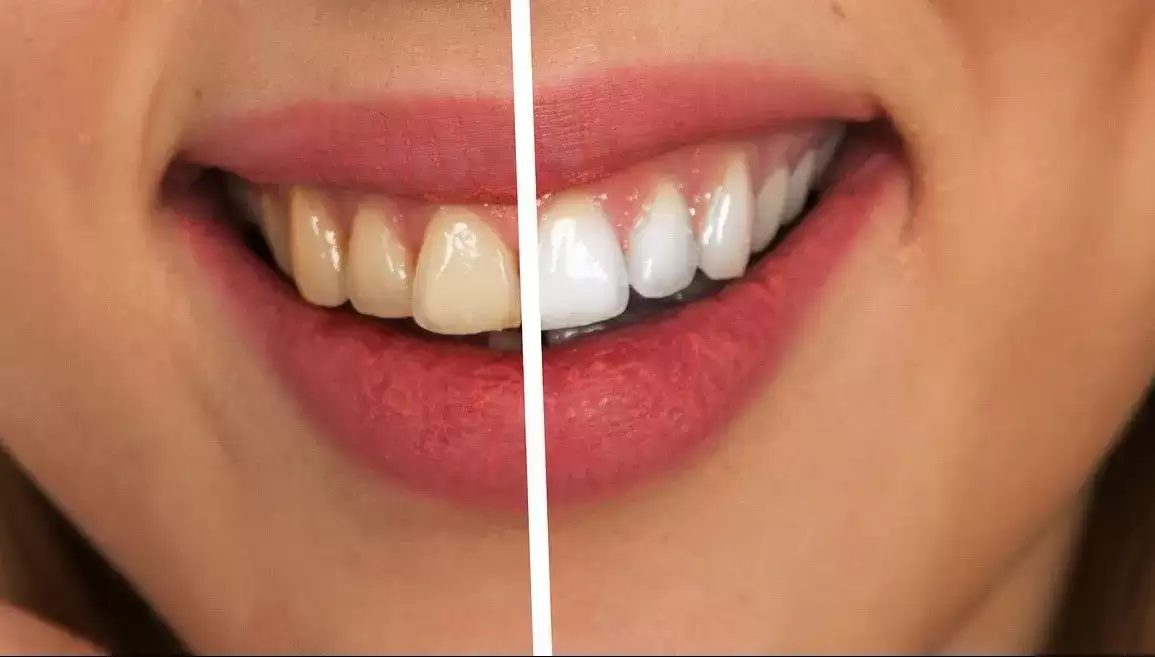
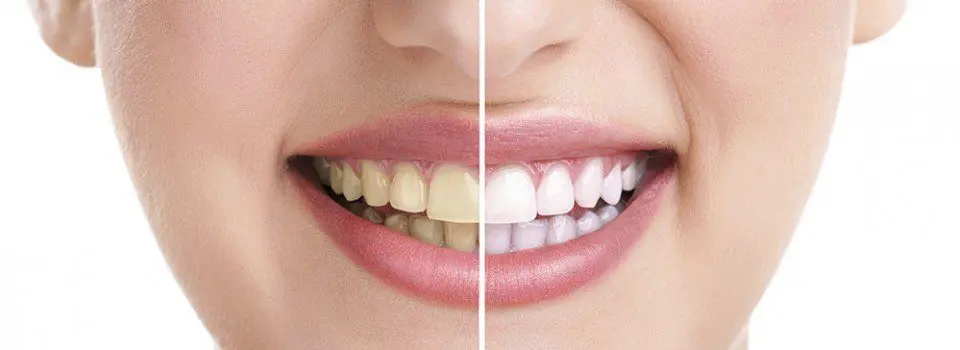
Unlike DIY teeth whitening kits, professional teeth whitening Melbourne involves usage of highly concentrated active ingredients to achieve the desired results quickly. In-chair teeth whitening requires several sessions to get the teeth whitened as white as you like while custom take-home trays can take anywhere from 10 to 14 days. That said the results can vary from one patient to another based on the sensitivity, past dental work, and day-to-day habits like coffee or wine. Coffee, tea, and red wine are more likely to stain quickly after the procedure that other form of liquids. If you have composite fillings, veneers, or crowns on front teeth, their colour will not change, so planning shade and any replacement work is essential.
If you are looking to whiten your teeth, book a check-up and a clean first. Removing plaque and calculus lets the gel contact enamel evenly, which improves consistency and reduces patchy results.

Your Whitening Timeline
- 8 to 12 Weeks Out
Book a comprehensive exam and a clean. Confirm suitability, discuss shade goals and note any front-tooth restorations that may need colour matching later.
- 4 to 6 Weeks Out
Have custom trays made and begin dentist-supplied whitening gel at the frequency recommended. Start a desensitising toothpaste if you have a history of sensitivity.
- 2 to 3 Weeks Out
Pause for a shade review in natural light. If you’re planning to get new fillings or a crown on a front tooth, schedule it at least two weeks after the final whitening so colour can stabilise.
- 7 to 10 Days Out
Choose either a single in-chair session for an extra lift or targeted top-ups in trays. Adopt a simple “white diet” for 48 hours after your last session to minimise rebound staining.
- 48 to 72 Hours Out
Limit dark-coloured foods and drinks, keep up your water, and clean gently with a soft brush and interdental tools. No smoking, and skip alcohol-based rinses.
Event Day
Brush and floss, then sip water through the day. A quick rinse before photos removes film and keeps surfaces glossy.
If You’re Short on Time
- 7 To 10 Days Total: One in-chair session, then 48 hours of white diet
- 3 To 5 Days Total: Short in-chair protocol, strict white diet, manage sensitivity.
- Under 72 hours: Book a pro clean and polish; skip whitening if your dentist advises against it.
Why to Skip DIY Whitening?
DIY teeth whitening strips can look affordable and quick compared to professional procedure, but they often create more problems than they solve.
- No check-up first: You might bleach over decay, cracks, or leaking fillings, which can inflame the nerve and make things worse.
- Unclear formulas: Unknown peroxide strength and pH can burn gums, soften enamel, and leave lingering sensitivity.
- Abrasive or acidic tricks: Charcoal, bicarb, lemon juice, and vinegar scratch or etch enamel, leading to patchy colour and faster re-staining.
- One-size-fits-none gear: Generic trays and strips leak gel onto gums and miss parts of the teeth, so results look uneven.
- Restoration Mismatch: Fillings, veneers and crowns don’t change colour, so DIY attempts can leave obvious contrasts.
Check this guide why DIY whitening trends dentists say to stop.

Sensitivity and special cases
Post-teeth whitening, mild sensitivity is common, and it should settle quickly. Use a toothpaste containing potassium nitrate for a couple of weeks before you begin and throughout your course. If your teeth feel sensitive, talk to your dentist about a lower-strength gel or use night trays. If you have white spots, they may add another treatment so the shade looks even.
Clear aligners can be compatible with whitening if gel placement remains accurate; your dentist will adjust instructions. If you grind your teeth, ask about tray fit and timing so you do not wear whitening trays overnight on the same nights as a guard.
Costs and value: plan, do not guess
Prices vary by method, appointment length and whether custom trays are included for future maintenance. When reviewing teeth whitening cost Melbourne, ask what the fee covers: consultation, clean, in-chair concentration, trays, desensitising care and review. The teeth whitening package may exclude a clean or follow-up, which can limit results. Many patients seek budget teeth whitening that is still clinically sound; in many cases, dentist-supervised take-home trays provide strong value because you keep the trays for periodic top-ups.
If you want clarity on the cost of professional teeth whitening, request a written quote so you can compare like for like. When you search teeth whitening near me, shortlist clinics that explain risks plainly, tailor gel strength to your history and offer both in-chair and take-home options. That flexibility lets you balance speed, comfort and price. Practices focused on affordable teeth whitening still follow the same fundamentals: proper assessment, a measured protocol and clear aftercare.
Make Results Last Through the Event
- Keep to a white diet for the first 48 hours after your final session. Think yoghurt, bananas, rice, plain pasta and lightly coloured sauces.
- Rinse with water after coffee or tea once normal eating resumes. Use a straw for iced versions.
- Brush twice daily with a soft brush and use floss or interdental brushes so edges reflect light cleanly.
- Pack a travel brush, floss and a small bottle of water for quick touch-ups on the day.
Whitening before a big event doesn’t have to feel rushed or uncertain. The key is to work backwards from your date, choose the method that matches your timeline, and protect the final 48 hours with simple diet and care. Professional options give you predictable results, safer treatment, and the flexibility to balance comfort with speed. With a sensible schedule and consistent care, you will arrive with a bright, natural shade that holds up under camera lights.
Frequently Asked Questions
1. When should I start whitening before an event?
Six to eight weeks is ideal. Two weeks is workable if you combine a professional clean with in-chair whitening. Keep to a white diet for 48 hours after your final session.
2. Which is better on a deadline, in-chair whitening or take-home trays?
In-chair delivers faster shade change in one visit. Take-home trays build colour gradually with good control over sensitivity. Many patients use trays first, then add a single in-chair lift 7–10 days before the event.
3. Will whitening change the colour of fillings, veneers or crowns?
No. Dental restorations do not lighten. If they are visible, plan any replacement work at least two weeks after whitening so the new shade matches settled enamel.
4. How do I reduce sensitivity during whitening?
Begin a desensitising toothpaste one to two weeks before you start, use dentist-supplied gels, and take rest nights if sensitivity rises. Your dentist may adjust gel strength or recommend a fluoride varnish.
5. How long will results last and how do I maintain them?
Results can hold for months, depending on diet and habits. Rinse with water after coffee or tea, keep six-monthly hygiene visits, and do short tray top-ups as advised.


